HEAD BUDDY & HEAD BUMPA FITTING INSTRUCTIONS
Fitting should be done the first time the product is worn, then checked regularly to ensure the fit remains secure. Incorrect fitting reduces the protection provided by Head Buddy products.
-
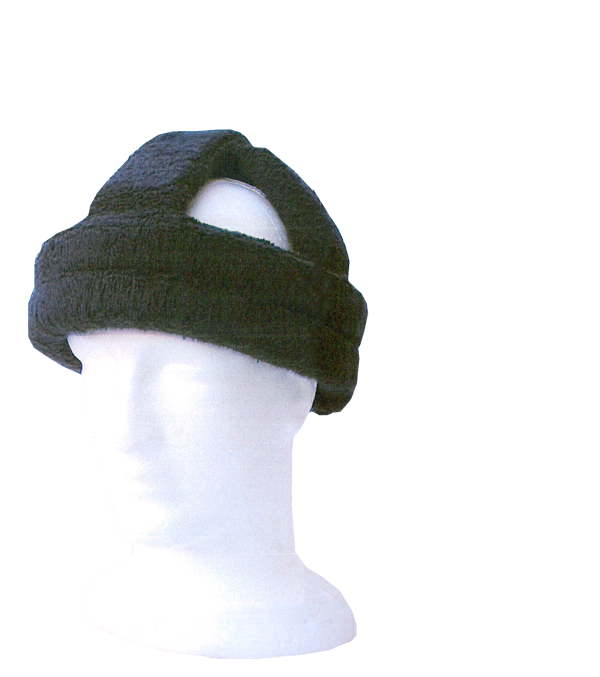
STEP ONE
Ensure the logo is at the back of the head. Place the front of the Head Buddy or Head Bumpa as low over the brow as possible, just over the eyebrows for the best protection. The top of the Head Buddy or Head Bumpa needs to rest on the top of your head. To ensure a good fit, tilt Head Buddy or Head Bumpa slightly backwards to allow all parts of the Head Buddy or Head Bumpa to be in contact with your head.
-
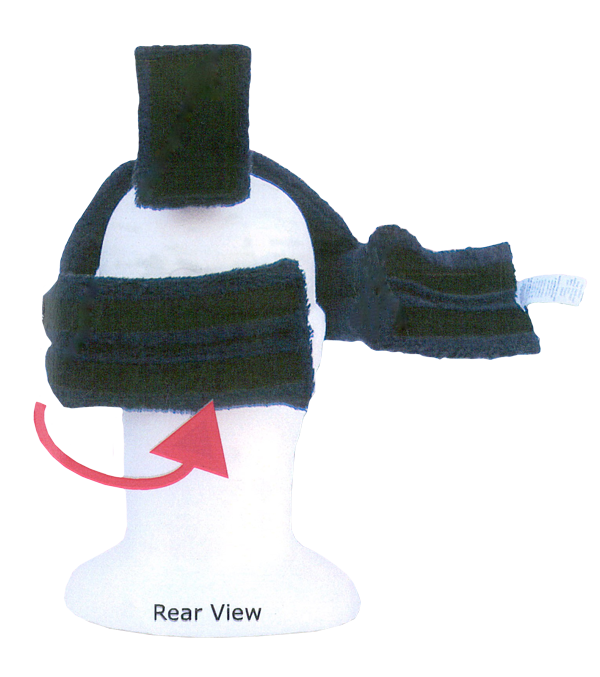
STEP TWO
Left hand side flap is placed across the back of the head first.
-
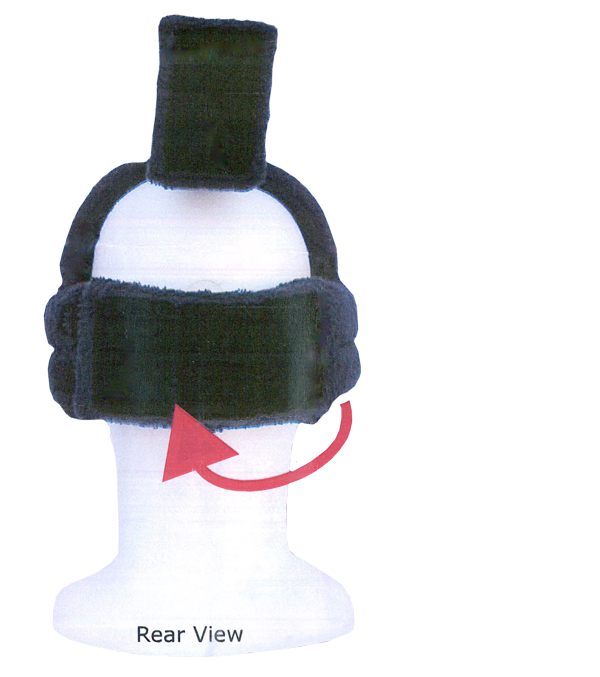
STEP THREE
Step 3. Place the right hand side flap over the left hand side, fit snugly. Press to ensure the velcro grips firmly.
-
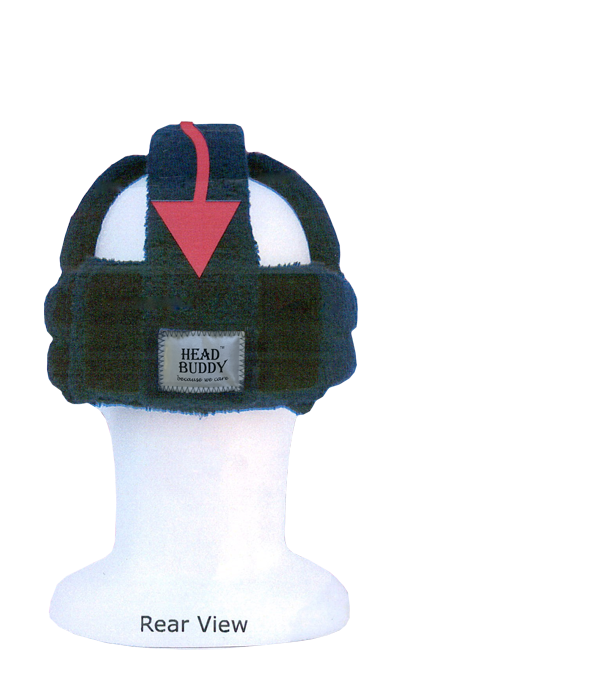
STEP FOUR
Step 4. Lastly place the top flap down over the other two flaps, fit snugly. Press to Ensure velcro grips firmly. Once correctly fitted no adjustment needed when removing and replacing on head.


CHIN STRAP (DETACHABLE) INSTRUCTIONS
Fitting should be done the first time the product is worn, then checked regularly to ensure the fit remains secure. Incorrect fitting reduces the protection provided by Head Buddy products.
-
STEP ONE
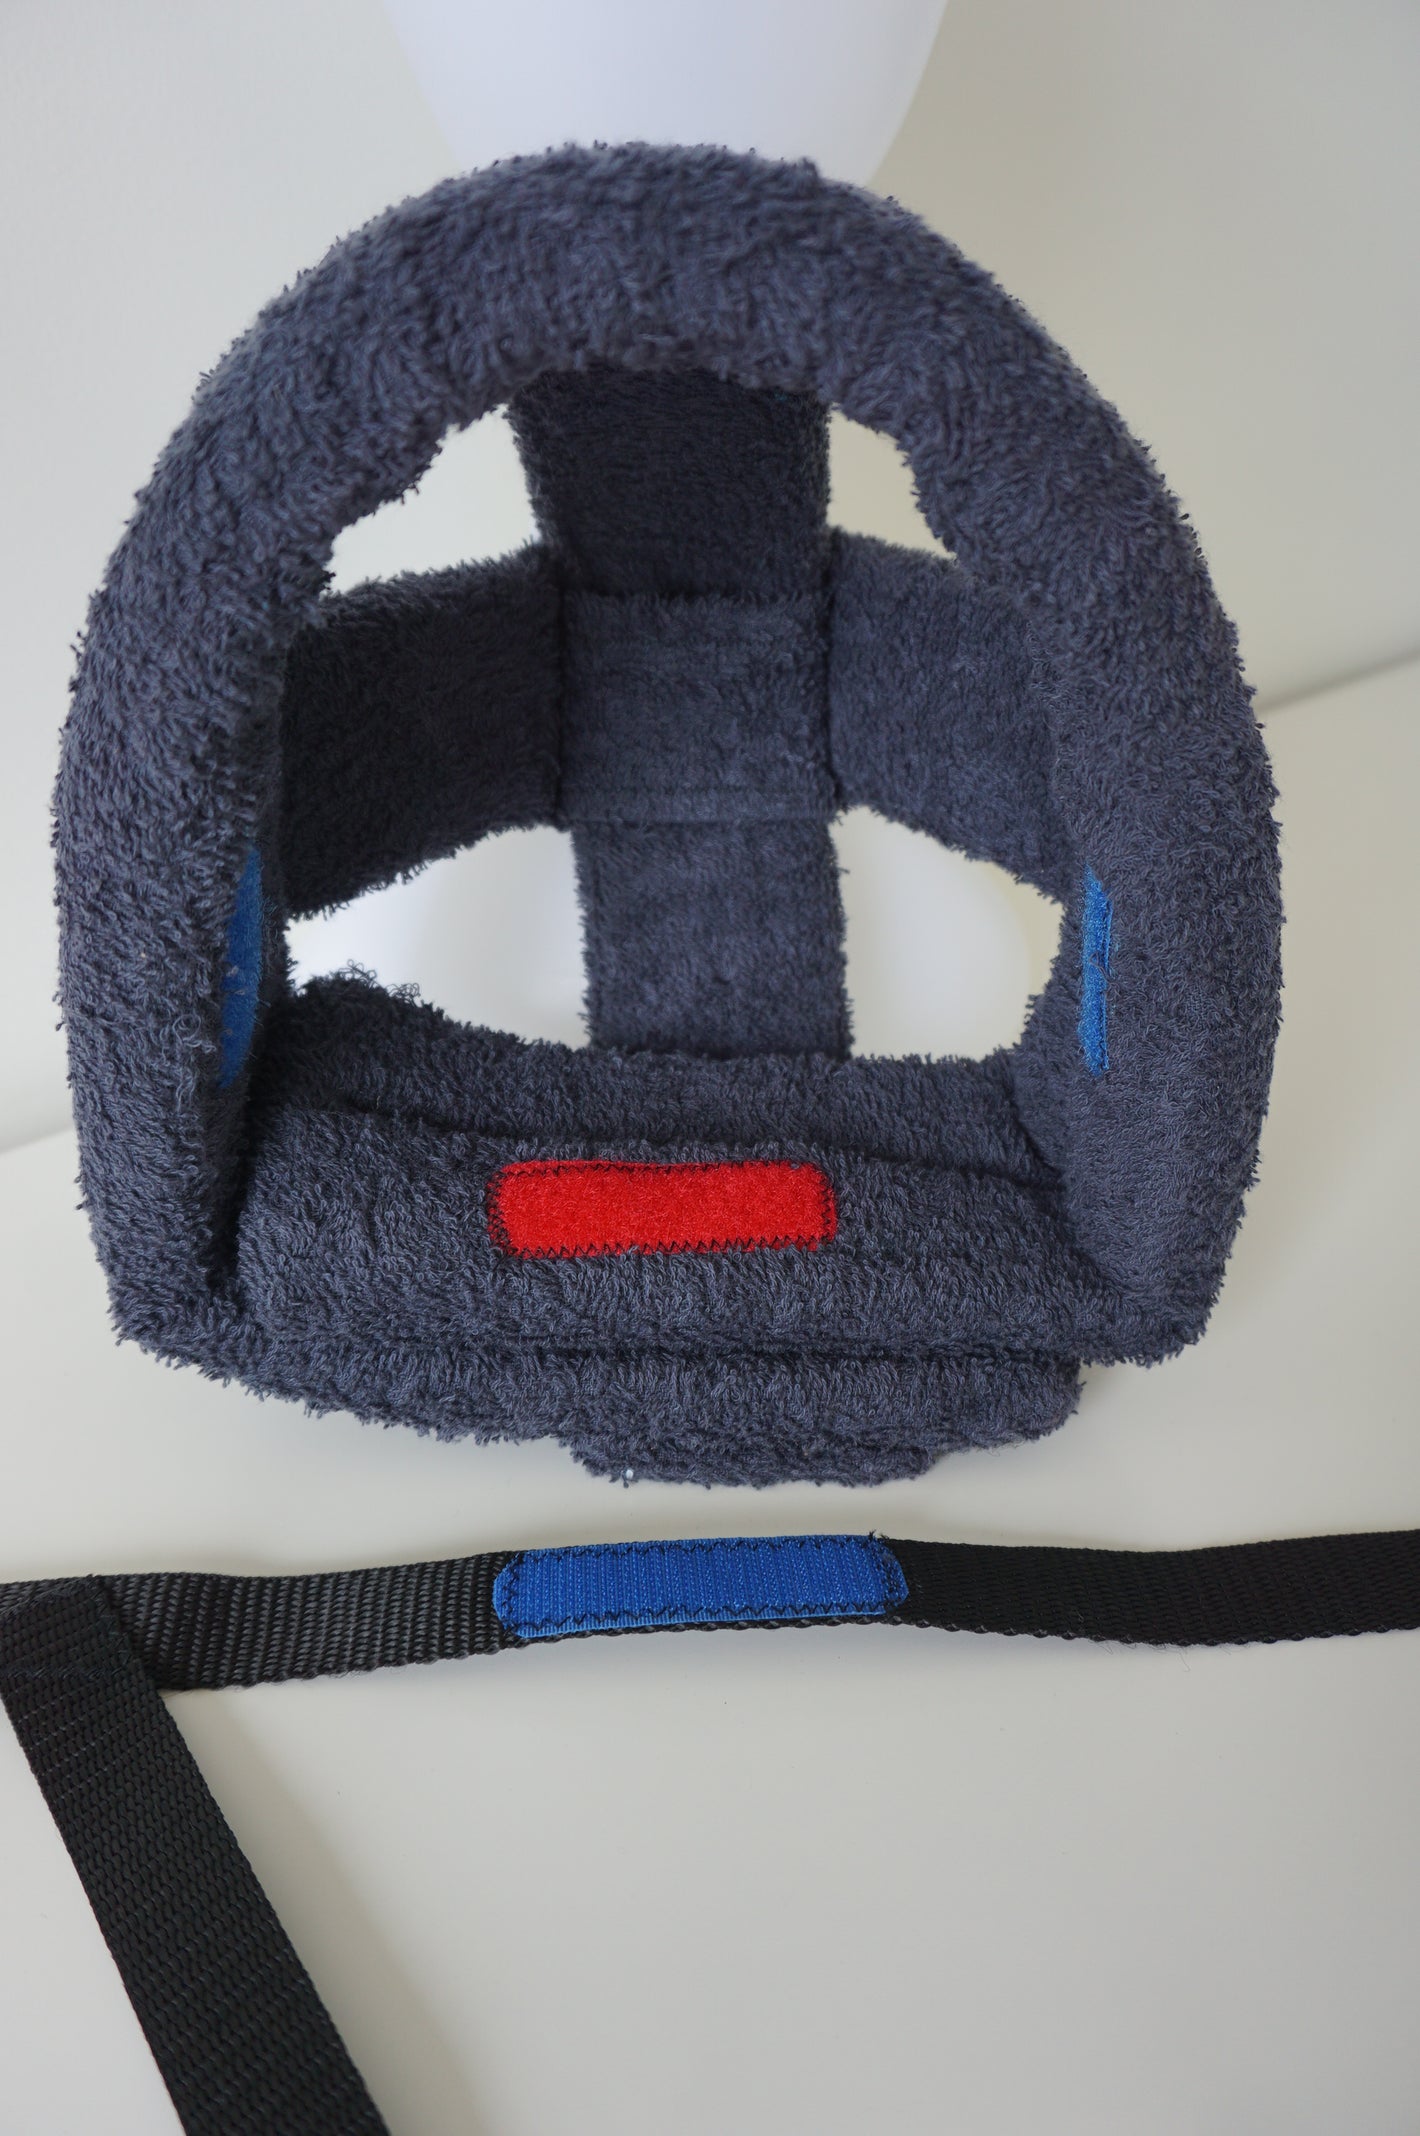
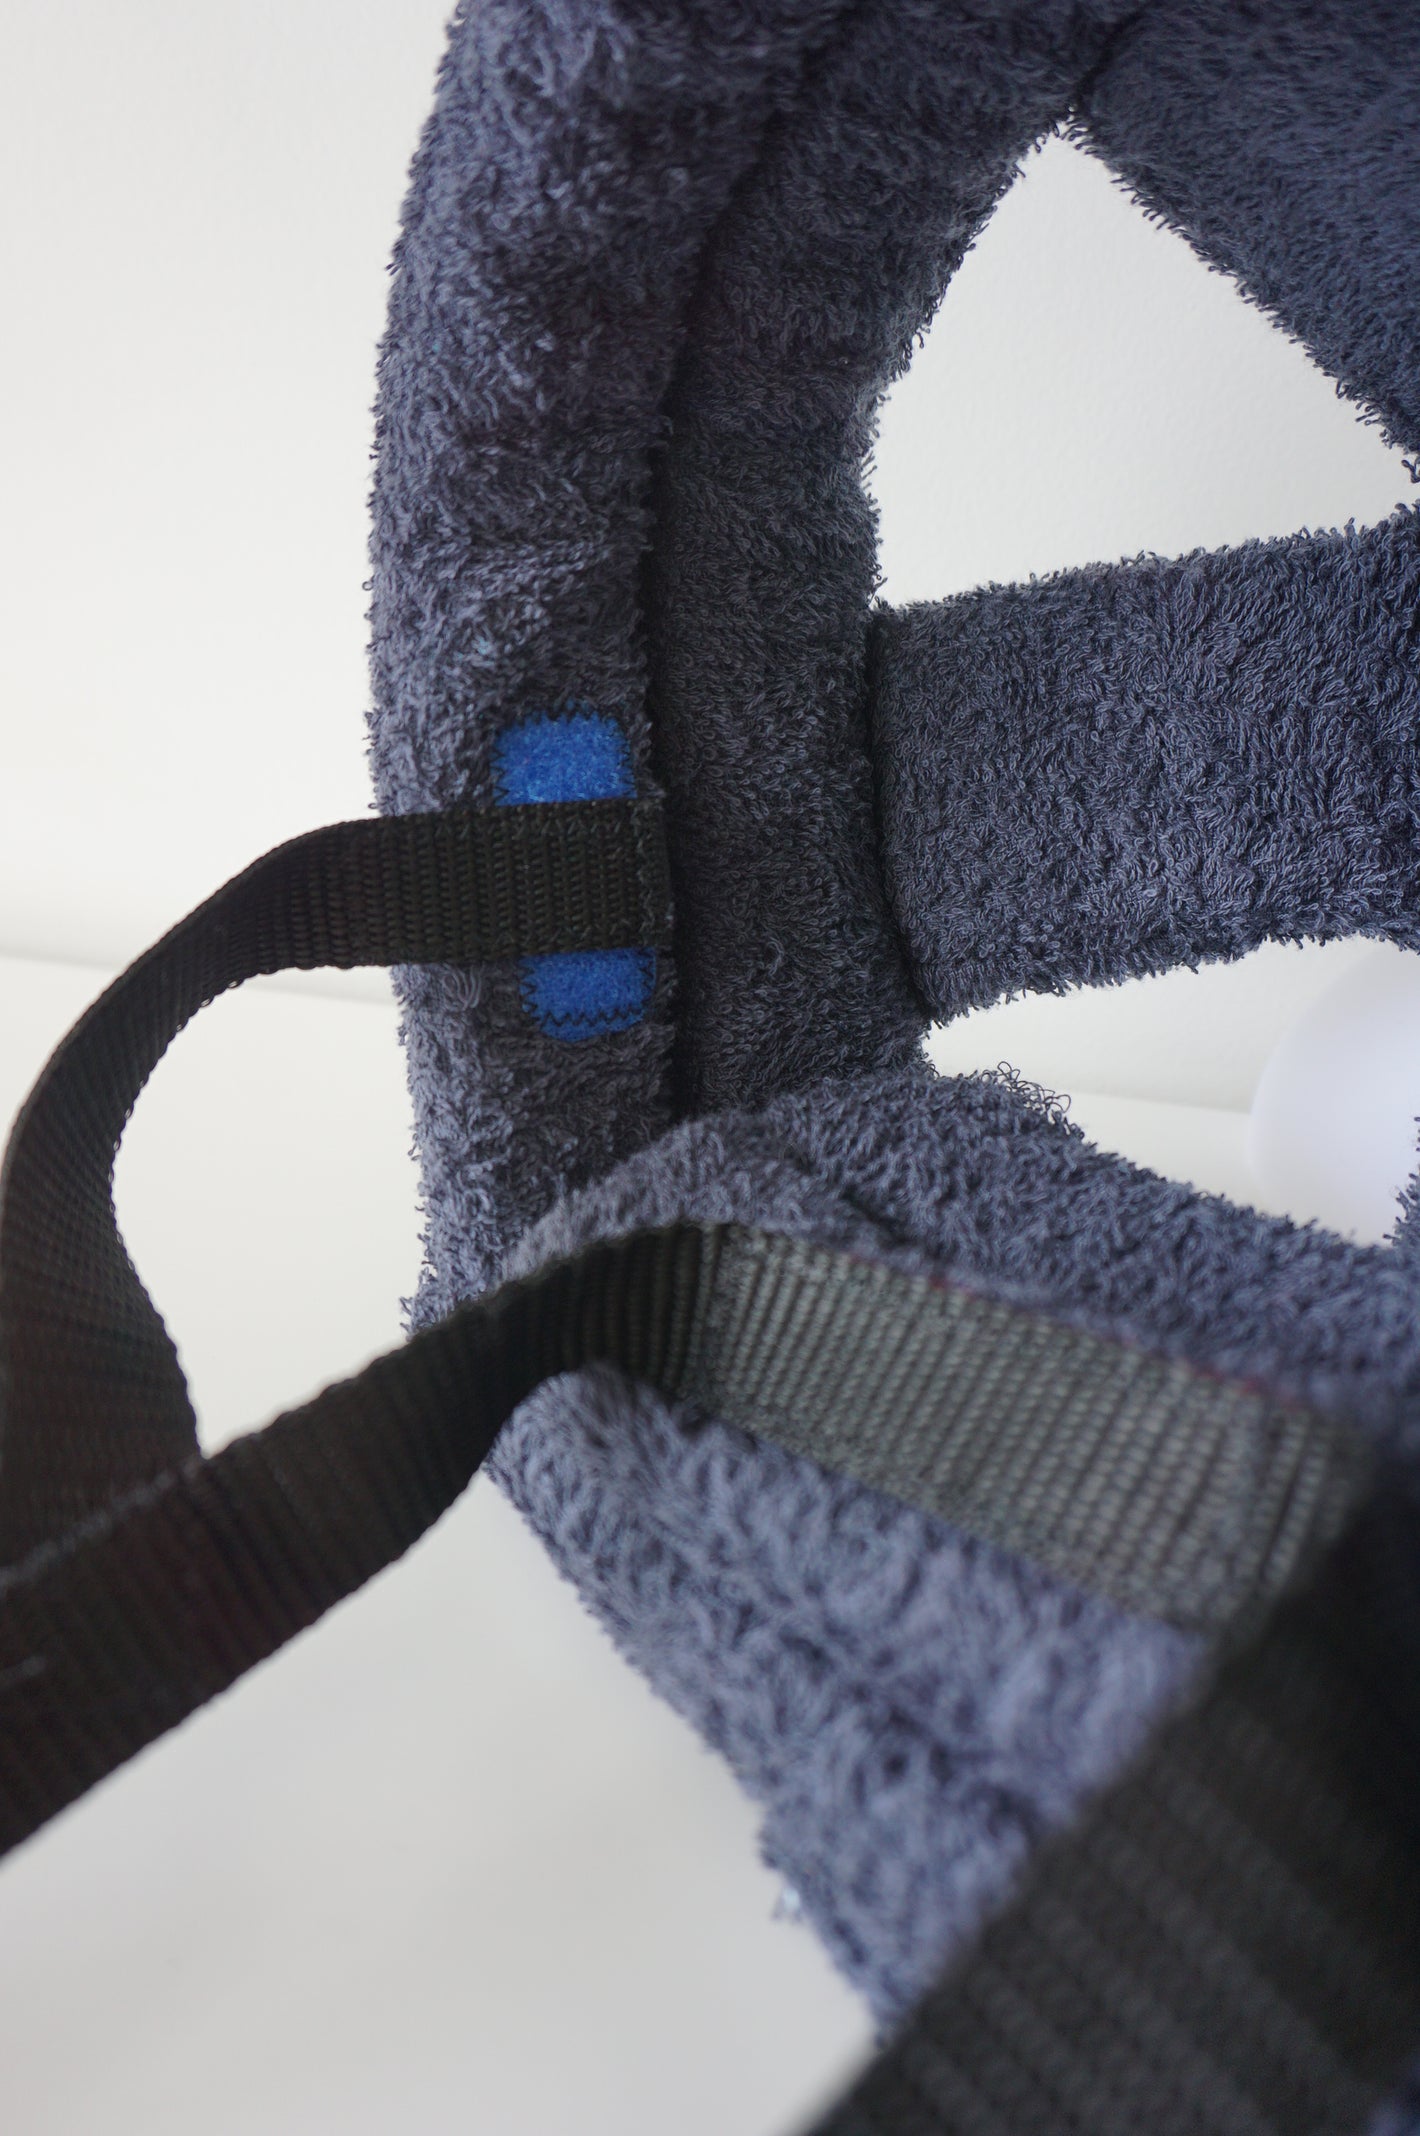
With the Head Buddy or Head Bumpa facing towards you lay the strap out in a straight line. Connect the velcro in the middle of the strap horizontally to the velcro in the middle of the Head Buddy or Head Bumpa.
-
STEP TWO
Next, you will find small straps to your left and right side. Attach each of these vertically to the respective velcro strips on the Head Buddy or Head Bumpa.
-
STEP THREE
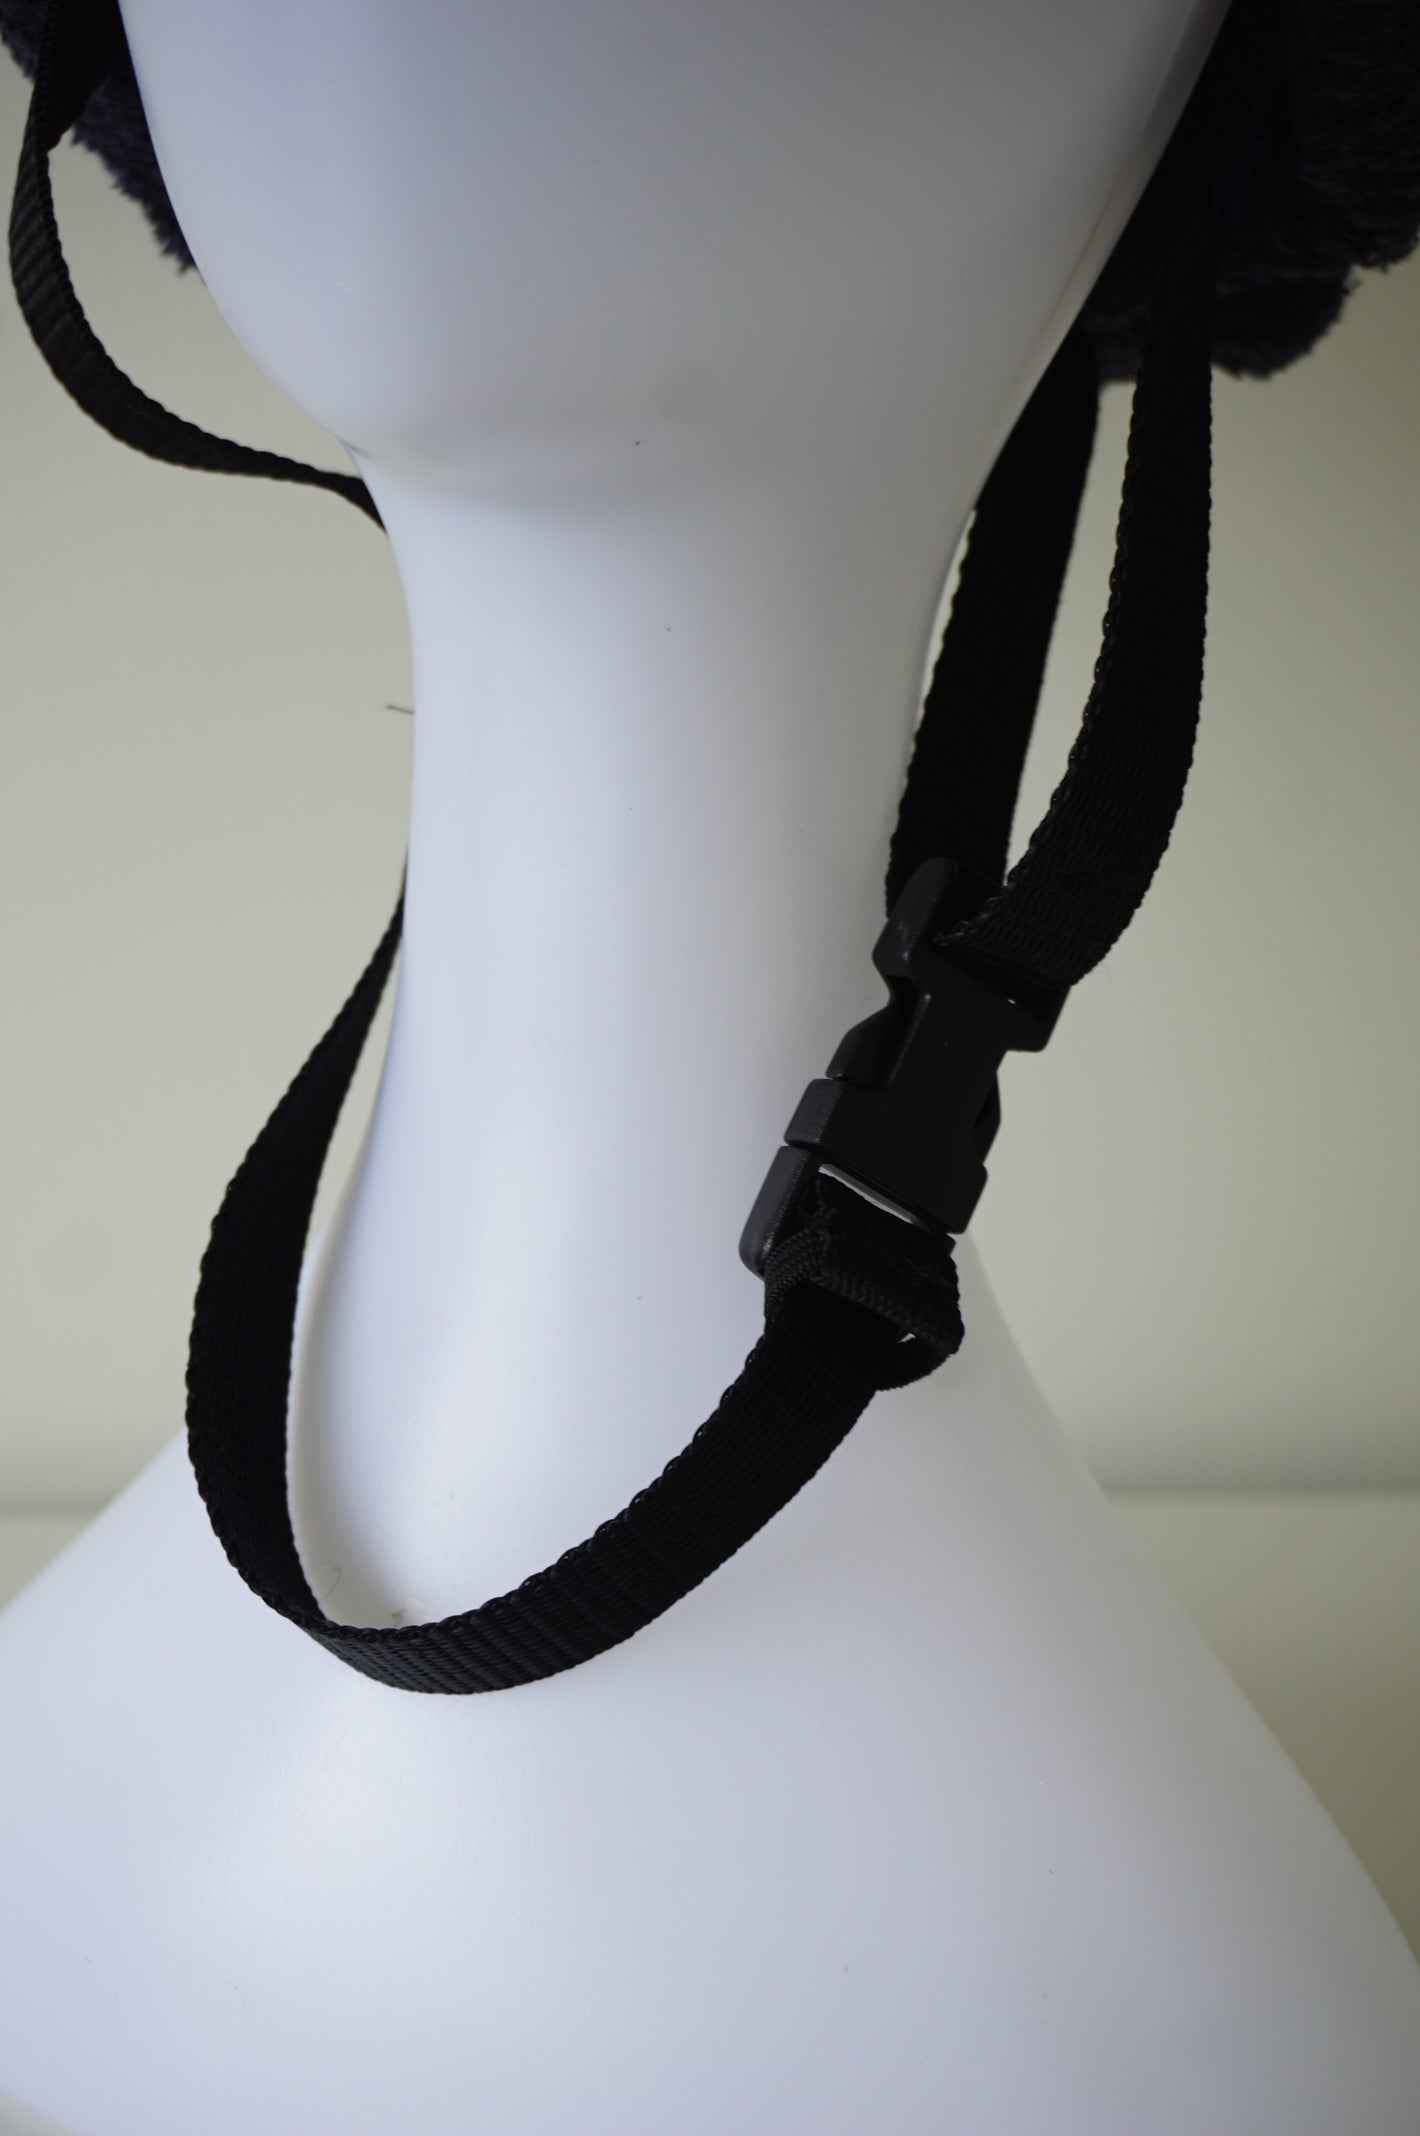
Now place the Head Buddy or Head Bumpa over the head and attach the buckle under the chin. Adjust size to fit comfortably and safely.


